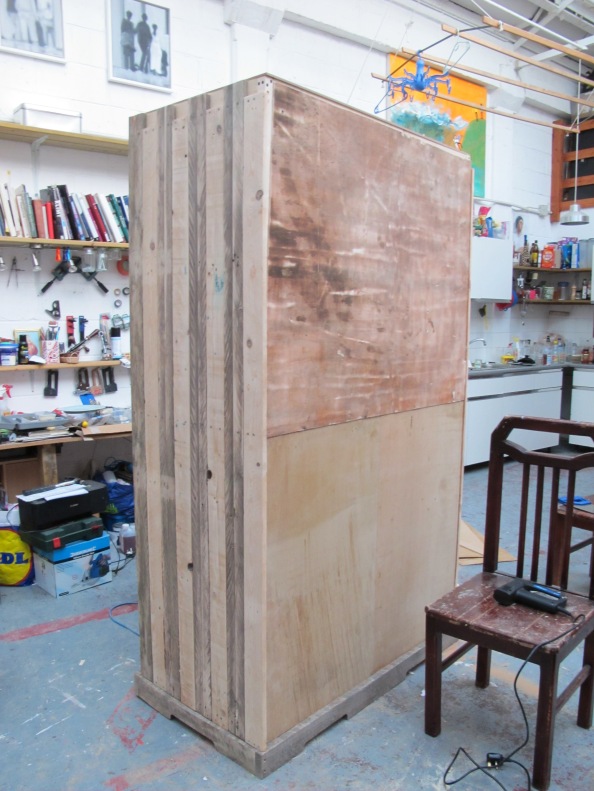
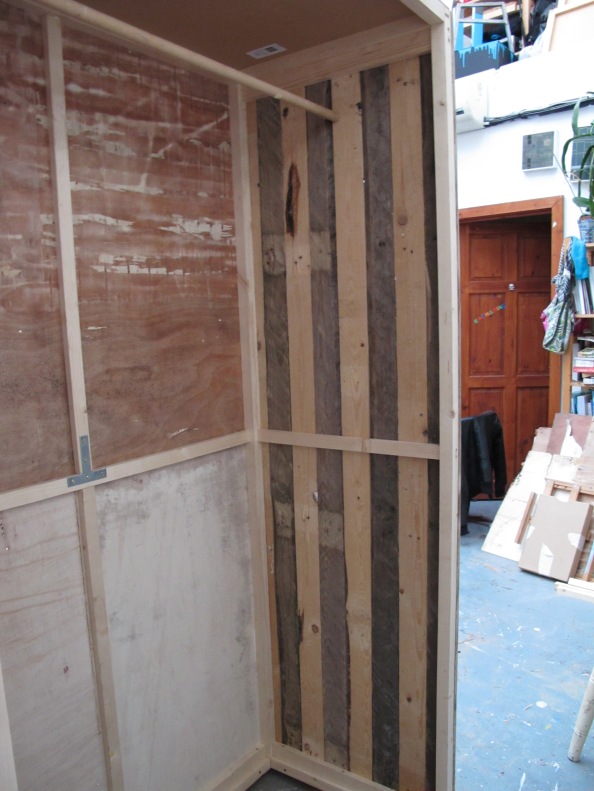
A while back my girlfriend moved into my house when her parents started renovating their kitchen and needed her room for storage. Now, she has an enormous collection of coats. Coats are her thing, she has over 40 of them. There was simply no way they were ever going to fit in my room. Thus, after passing some particularly attractive wooden pallets on my road, I decided to build a wardrobe for her. I got a little carried away to say the least and I ended up making a huge beast of a thing. Below is some documentation of the build, which is ongoing.
I started by disassembling the pallets, they were beautifully weather-worn and their roughly cut textures showed through excellently when sanded.
The size of the wardrobe was actually dictated by a standard pallet size. I used the thick, strong pallet support struts and simply built it 1 length by 1/2 length. I then constructed a frame from bought stripwood. At this point I should probably note that had neither a tape measure or a set square at home when I built this. There is some wonk in it but I actually quite like it, it fits with the salvaged weather-warped wood.
 There was a limited amount of the grey wood available so I decided to alternate between these and the more abundant clean planks (I live in an industrial area, the streets are paved with pallets). Originally this was a nod to Sienna Cathedral which has alternating dark and light stone columns. It has since been called the Beetlejuice Wardrobe though.
 I was lucky enough to find some large sheets of thin plywood lying around in the street which made a suitable backing.
The doors were then made with a bought planed pine frame with salvaged wood panels
This has then been oiled with dirty engine oil from the garage next door to my house.
 The door handle on the left was found when we were cleaning up some derelict WW2 bunkers for an art exhibition and the one on the right was bought by my housemate from a craft fair.

The right hand door still needs to be oiled and sanded and the two bottom drawers need to be made. I will continue to post images as the project develops. I am doing this between many other projects and my job so progress is slow but it will get there in the end.


Maggie T
March 31, 2011
Clarry has 40 coats?
This is v.nice George – I hadn’t noticed quite realised what an excellent craftsperson you are.
London Rachel
March 31, 2011
Love it- and I kind of like the fact that only one door is oiled; its like the wardrobe has two sides to it’s character. Maybe a male and female side, maybe a side for leathers and a side for cottons! Lucky Clarice- Rx
Merlin
March 31, 2011
Wow, you are very skilled! What a great item!